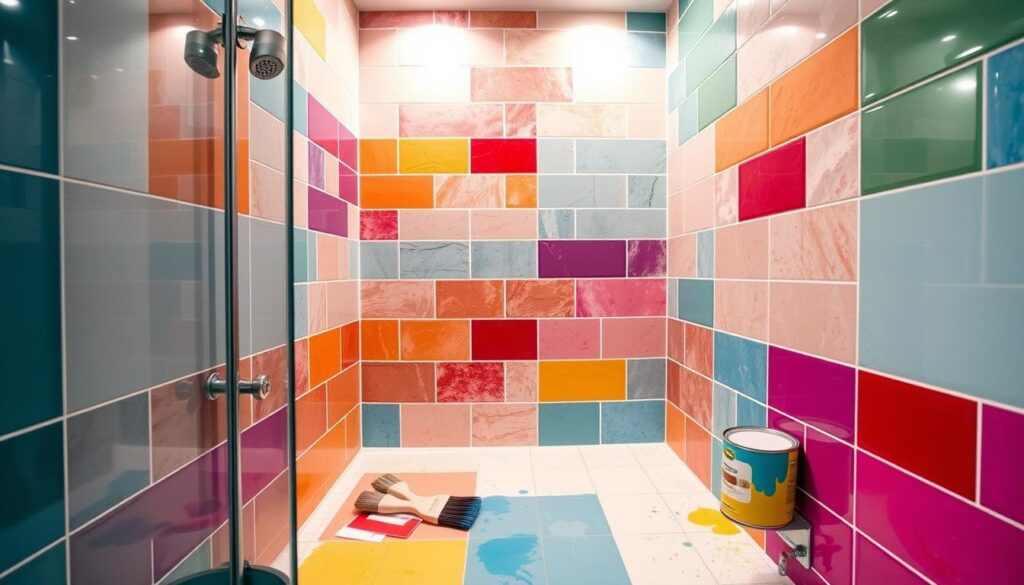
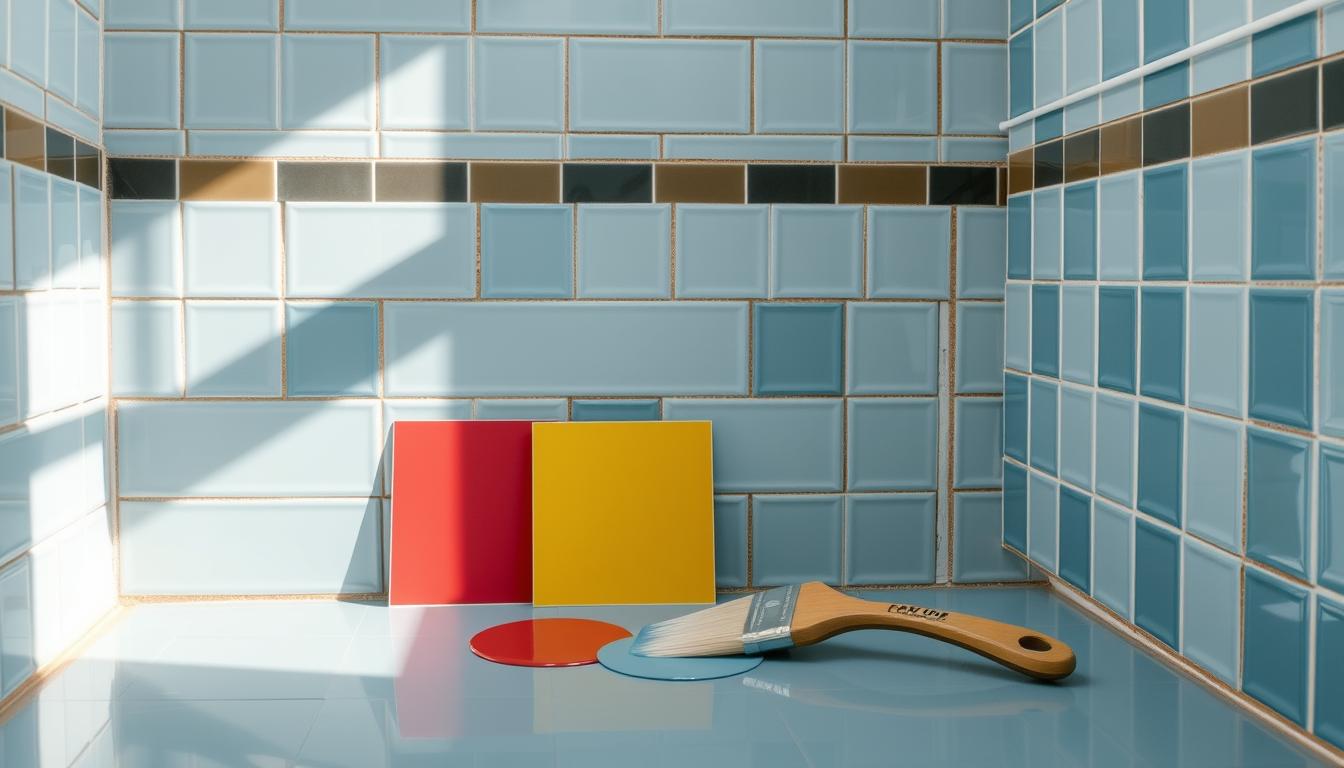
As a homeowner, I’ve faced the problem of old or dirty shower tiles. Looking at dull, discolored surfaces can make your bathroom feel far from relaxing. But, painting your tiles could be the easy fix you’ve been looking for.
Painting your shower tiles is a cost-effective, DIY-friendly way to update your bathroom. With the right preparation, paint, and techniques, you can get a professional look that lasts. In this guide, I’ll show you the best paint choices, the painting process, and key tips for a successful project.
Table of Contents
paint for tiles in shower : Understanding Tile Paint Types
There are many types of paint for tiles, each with its own benefits. Knowing about these options can help you choose the right one for your project.
Epoxy Paint
Epoxy paint is very durable and can handle a lot of wear and tear. It comes in two types: one-part and two-part. The two-part needs mixing before use. It’s great for places that get a lot of use because it lasts long and can handle cleaning well.
Acrylic Paint
Acrylic paint is water-based and sticks well to tiles. It’s a good pick for kitchens and bathrooms because it can handle moisture better than regular paint. There are also special water-resistant acrylic paints for these areas.
Enamel Paint
Enamel paint can be oil-based or water-based. It gives a smooth, shiny finish that’s easy to clean. It’s a good choice for areas that see a lot of foot traffic because it’s strong and durable.
When picking a paint, think about how much foot traffic and moisture your area gets. Also, consider the finish you want. Always follow the paint’s instructions and prepare the surface well for the best results.
| Paint Type | Durability | Moisture Resistance | Finish |
|---|---|---|---|
| Epoxy | High | Excellent | Glossy |
| Acrylic | Moderate | Good | Satin |
| Enamel | High | Good | Glossy |
Remember, while tile paint, waterproof tile paint, and mildew-resistant tile paint are all good for painting tiles, the best one for you depends on your space’s needs and what you like.
Benefits of Painting Tiles
Painting tiles is a budget-friendly way to update your bathroom. It’s perfect for changing old or unappealing tile colors. This quick and customizable solution can give your space a fresh new look.
Cost-Effectiveness
Tile refinishing or resurfacing with paint is cheaper than replacing tiles. Most projects cost under $100. It’s a great choice for homeowners who want to refresh their bathrooms without spending a lot.
Quick Refresh
Painting tiles can change your bathroom’s look in hours or days. This is much faster than installing new tiles, which takes a week. You can update your bathroom quickly without a long, messy renovation.
Customization Options
Paint lets you change the color and pattern of your tiles. You can use stencils or create your own designs. This flexibility means you can make your tiles match your style and bathroom decor.
While painted tiles may not last as long as new ones, the savings, quick updates, and personal touch are worth it. To get a durable finish, make sure to prepare the tiles well and use the right paint.
“Painting tiles is a budget-friendly and customizable way to transform the look of your bathroom without the hassle and expense of a complete tile replacement.”
Preparing Tiles for Painting
Before you start painting your bathroom tiles, you need to prepare the surface. This step is key to making sure the paint sticks well. It also helps your tile painting or sealant project last longer.
Cleaning and Repairing
Cleaning is the first thing to do. Use a commercial cleaner and degreaser to get rid of dirt, dust, grease, and soap scum. This makes the surface smooth for painting. If there are cracks or chips, fix them with caulk or grout made for tile.
Choosing the Right Primer
Choosing the right primer is very important. Use a bonding primer, like INSL-X STIX, to help the paint stick to the tile. Don’t use a standard latex primer, as it might not work well with tiles.
Necessary Tools and Supplies
- Paint or tile sealant
- Primer
- Rollers and brushes
- Sandpaper (80, 120, and 220 grit)
- Cleaning supplies (degreaser, rags, etc.)
- Protective gear (gloves, mask, etc.)
With the right preparation, your tile painting project will turn out great. Just remember to follow the instructions from the manufacturer for the best results.
Step-by-Step Painting Process
Renewing your shower tiles is easier than you think. With the right steps, you can give your tile enamel a fresh look. This will make your bathroom look better. Here’s how to paint your shower tiles step by step.
Applying Primer
First, clean and dry the tiles well. Then, apply a good bonding primer, like Benjamin Moore’s Insl-X Stix, all over. Use a roller to cover every part, including small spaces. You might need two coats, depending on your tiles, with time to dry between.
Painting Technique
After the primer dries, start painting. Use a roller for big areas and a brush for details. Paint in thin layers, slightly overlapping each stroke. This will give you a smooth finish. Wait for the first coat to dry before adding a second, if you need it.
Sealing the Finish
After the paint is dry, think about adding a clear polyurethane sealant. It protects your work and makes it last longer. Follow the sealant’s instructions and wait for it to cure before using the shower.
The whole process, including prep, takes about 5 hours of actual work. Plus, you’ll need extra time for drying and curing. By following these steps, you can make your shower tiles look new and personal.

Choosing the Right Color
Choosing the right color for bathroom tile painting or tile refinishing is key. Classic whites, soothing grays, and neutral tones are popular. They brighten the space and create a clean, refreshing feel.
Trendy Shades
For a trendy look, try Benjamin Moore’s Decorator’s White. It’s versatile and can instantly brighten your bathroom tiles. For a bold statement, consider deeper gray tones or soft blues and greens. They can enhance your bathroom’s decor.
Tips for Coordinating with Bathroom Decor
- Match the tile color to your bathroom walls for a cohesive look.
- Choose a complementary shade to enhance the color scheme.
- Use stencils to add patterns or designs to painted tiles for a personal touch.
When picking a color for your bathroom tile painting or tile refinishing, think about the look you want. Consider how the new color will fit with your bathroom’s decor. The right color can completely change your bathroom’s look.
Frequently Asked Questions
Many homeowners wonder how long painted tiles last. With the right prep and quality tile paint and sealants, they can last 6 months to 2 years before needing a touch-up.
The life of painted tiles depends on foot traffic, moisture, and the waterproof tile paint used. Tiles in busy spots like showers last less than those in quiet areas like kitchens. Good prep and a strong sealant can make your tiles last longer.
Can You Use Painted Tiles in Showers?
Painted tiles in showers are not the best idea. Showers are very wet, which can make the paint peel or chip.
If you still want to paint your shower tiles, use top-notch tile paint made for wet places, like epoxy paint. Make sure the tiles are well-prepped, primed, and sealed. Also, keep up with regular maintenance to keep the paint looking good.
| Painted Tile Lifespan | Shower Tile Painting Recommendations |
|---|---|
| 6 months to 2 years |
|

“The key to long-lasting painted tiles is proper preparation and the use of high-quality, waterproof tile paint. With the right approach, you can transform the look of your tiles and enjoy the results for years to come.”
Caring for Painted Tiles
Keeping your painted tiles looking great is easy with a little care. Don’t use harsh chemicals to clean them, as they can harm the paint. Instead, use a mix of vinegar and water or a mild cleaner.
Regularly sweeping, vacuuming, or damp dusting helps keep dirt away. Place mats or rugs in busy areas to protect your tiles. Always clean up spills quickly to avoid water damage or mildew.
Repairing Chips and Scratches
Chips or scratches on your tiles can happen over time. But fixing them is simple. First, lightly sand the area to smooth it out. Make sure it’s clean and dry, then apply a touch-up of the same paint color.
Let the repair dry completely before using the tile again. This ensures a strong and even finish.
| Maintenance Task | Frequency | Recommended Products |
|---|---|---|
| Sweep or vacuum | Weekly | Broom, vacuum cleaner |
| Damp wipe | Monthly | Mild, pH-neutral cleaner, microfiber cloth |
| Deep clean | Quarterly | Vinegar and water solution, soft-bristle scrub brush |
| Apply sealant | Annually | mildew-resistant tile sealant |
| Repair chips/scratches | As needed | Sandpaper, matching mildew-resistant tile paint |
By following these easy care tips, your painted tiles will stay beautiful for many years.
Common Mistakes to Avoid
Painting tiles in your bathroom can give it a fresh look. But, it’s crucial to avoid common mistakes for a lasting result. Two big errors are skipping prep work and using the wrong paint.
Skipping the Prep Work
Getting your tiles ready is key for a successful paint job. Don’t skip the steps of cleaning, fixing, and sanding before painting. If you don’t remove old sealants, dirt, or damage, the paint won’t stick well. This can cause it to chip and peel off too soon.
Using the Wrong Type of Paint
Choosing the wrong paint is another big mistake for bathroom tile painting. Regular latex paint can’t handle bathroom moisture and humidity. use specialized tile paint, like epoxy, acrylic, or enamel. These are made to stick well to tiles and last a long time.
By avoiding these mistakes and choosing the right paint, you can get a perfect, professional look. This will change how your bathroom tiles look.
Conclusion and Recommendations
Painting tiles in your shower can save money compared to retiling. But, it’s crucial to prepare well for lasting results. Use high-quality, tile-specific paints that can handle the shower’s moisture.
Best Brands to Consider
For painting shower tiles, Benjamin Moore’s Satin Imperial Low Lustre Enamel and INSL-X Waterborne Bonding Primer are top choices. These paints are made for tile surfaces. They offer great durability and stickiness, perfect for bathrooms.
Recap of Key Points
When painting shower tiles, start by preparing the surface well. Use the right paints, let them dry fully, and think about getting a pro for water areas. Painting is a cost-effective way for tile refinishing or tile resurfacing. But, it might not work for all situations. Check your shower tiles’ condition and needs before choosing.

2 thoughts on “Best Paint for Tiles in Shower – Complete Guide”