
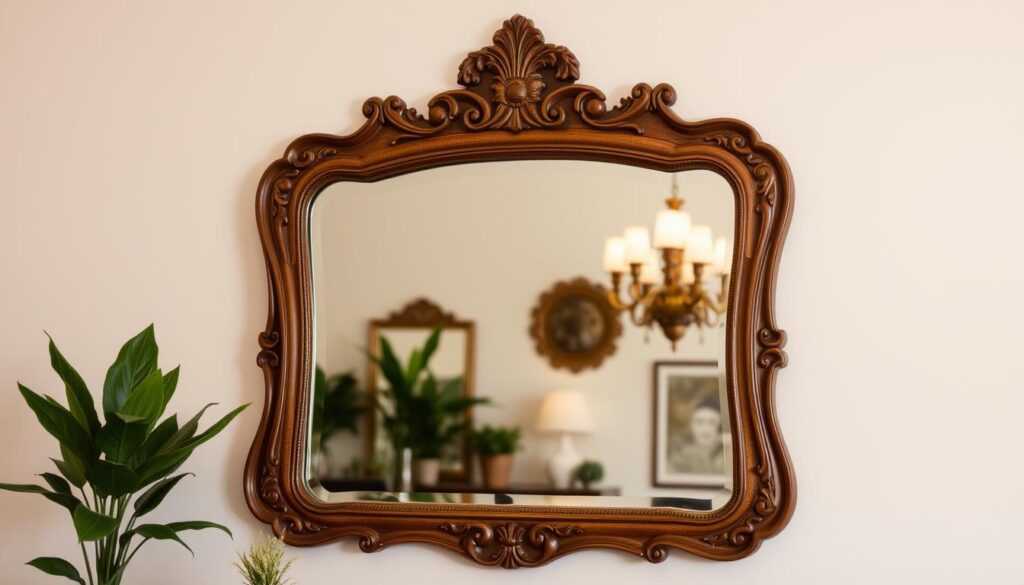
Standing in my living room, I looked at the bare wall-mounted mirror. It was fine, but it needed something special. That’s when I found DIY mirror framing. It’s a simple way to make a plain mirror stand out.
Framing a mirror is easy and doesn’t need nails or screws. You just need strong adhesive that sticks to glass. You measure, cut, and glue the trim boards to the mirror. Then, you add finishing touches like painting or staining. You can choose from rustic, coastal, or traditional styles to match your decor.
Table of Contents
Understanding Mirror Framing Basics
Mirror framing is a simple way to make your home look better. It works for any mirror, big or small. Adding a custom frame can change how your mirror looks and improve your home’s style. It’s a budget-friendly way to refresh your mirrors without buying new ones.
Types of Mirrors Suitable for Framing
Many mirrors can be improved with framing, including:
- Builder-grade mirrors: These basic, unframed mirrors are commonly found in bathrooms and can benefit greatly from a custom frame.
- Jumbo-sized bathroom mirrors: Larger mirrors, often used in master bathrooms, can be given a polished look with the addition of a frame.
- Decorative mirrors: Mirrors with unique shapes or designs can be further accentuated with the right frame.
Benefits of Custom Mirror Frames
Custom mirror frames have many advantages:
- Improved aesthetics: A well-chosen frame can dramatically enhance the visual appeal of a mirror, complementing your existing decor.
- Cost-effectiveness: Framing an existing mirror is typically more affordable than purchasing a brand-new framed mirror.
- Personalization: Custom frames let you tailor the style and finish to perfectly suit your personal taste and home decor.
Common Framing Materials Overview
There are many materials for mirror framing, each with its own features:
| Material | Characteristics | Price Range |
|---|---|---|
| Pine | Affordable, versatile, can be painted or stained | $150 – $430+ |
| Natural Wood | Adds a warm, rustic charm, can be left unfinished or stained | $200 – $420+ |
| MDF | Lightweight, easy to work with, can be painted to match any decor | $180 – $320+ |
| Trim Boards | Versatile, can be used to create custom frame profiles | $190 – $320+ |
Learning about mirror framing helps you choose the best way to enhance your mirrors. This way, you can make your home look better and more cohesive.
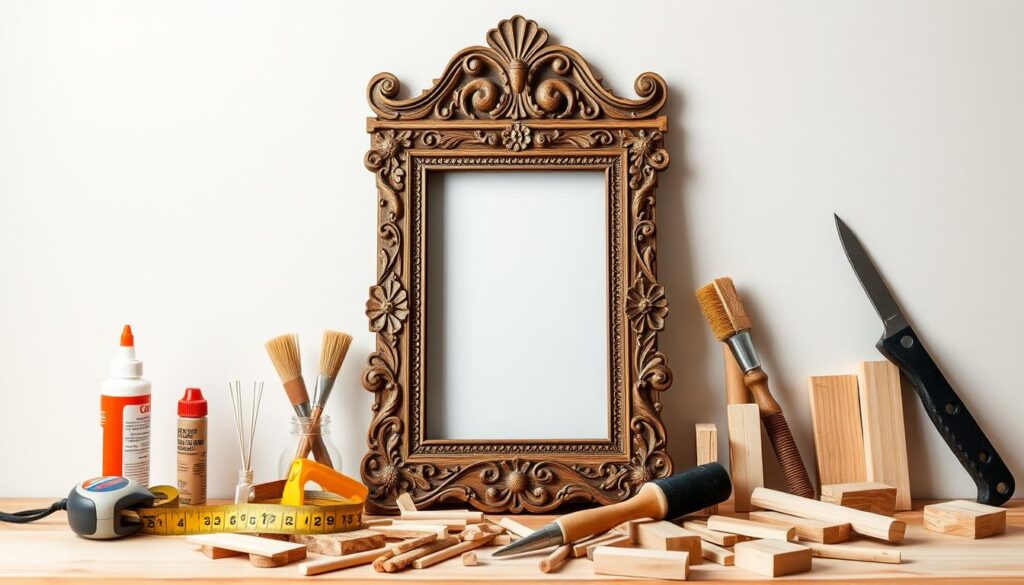
Essential Tools and Materials Needed
To make a custom DIY mirror frame, you need the right tools and materials. You’ll need a few key items to frame your mirror well:
- Miter saw or miter box and saw – for cutting the frame pieces at precise 45-degree angles
- Caulking gun – for applying adhesive and sealant
- Tape measure – to accurately measure the mirror dimensions
- Pencil – for marking and measuring
- Sanding block – to smooth the frame edges
- Finishing supplies – such as paint, stain, or varnish to customize the frame
You’ll also need some main materials:
- Trim boards, typically 2-4 inches wide, to create the frame
- Adhesive rated for glass – to securely attach the mirror to the frame
- Paintable caulk – to fill any gaps or seams in the frame
For a budget-friendly option, think about using materials you already have or finding cheap ones at dollar stores. Having the right tools and supplies is key for a successful DIY mirror frame project.
| Item | Estimated Cost |
|---|---|
| 3′ x 5′ frameless mirror | $50 |
| 3′ x 5′ mirror with a frame | Over $300 |
| DIY mirror frame materials | $25 |
| 1″ x 4″ x 8″ faux barnwood from Home Depot | Less than $8 per piece |
With the right tools and materials, you can make a beautiful and unique picture frame for mirror that matches your style and budget.
How to Create Frame for Mirror: Step-by-Step Process
Turning a plain mirror into a stunning centerpiece is simpler than you think. With basic tools and materials, you can craft a custom frame that matches your décor. Follow these easy steps to create your own DIY mirror frame and enhance any room’s look.
Measuring and Planning
First, measure your mirror’s length and width. This will tell you how big your frame pieces need to be. Use a tape measure for accurate measurements. Then, choose the frame width you like – 2 to 4 inches is a good range.
Cutting and Assembly Tips
Use a miter saw or hand saw to cut the trim boards at 45-degree angles. This makes the mitered corners that give your frame a clean, professional look. Lightly sand the wood to smooth out any rough spots, but be careful not to sand too much.
Place the pieces on a flat surface to check if they fit right before you start assembling.
Adhesive Application Methods
Put a thin line of wood glue or construction adhesive along the outside edge of the frame pieces. This helps hide any reflection in the mirror. Assemble the frame by gluing the pieces in this order: top, left side, bottom, right side.
Use clamps or painter’s tape to keep the joints tight while the glue dries. Fill tiny gaps with caulk to achieve a sleek, even surface.
Let the adhesive dry completely before you handle or hang the mirror. With these steps, you can make a DIY mirror frame that changes any room’s look. Be creative with different wood types, stains, and finishes to make your create frame for mirror project unique.
Choosing the Right Wood for Your Frame
Selecting the right wood for your custom mirror frame is essential. It affects the look and how long it lasts. Whether you want a rustic, coastal, or traditional style, the wood you pick matters a lot.
Knotty pine is great for a warm, rustic feel. Its natural knots and grains add charm and texture, perfect for a cozy cabin look. For a clean, coastal vibe, natural wood with fewer knots works well. It gives a beautiful, whitewashed look.
MDF trim pieces are ideal for a polished, traditional look. This engineered wood has a smooth surface. It’s great for painting or staining to fit your decor.
- Hardwoods like oak, walnut, and maple are durable and cost-effective. They have rich grain patterns.
- Softwoods such as pine, cedar, and fir are versatile. They work well with many design styles.
- Woods such as mahogany, teak, and ebony feature distinctive patterns and vibrant colors. But, they might cost more.
Think about your decor, the mirror’s purpose, and your taste when picking wood. Primed MDF is good for painting. Natural wood lets you stain or distress, making your mirror frame unique.
Safety Considerations and Preparation
Creating a DIY mirror frame requires safety first. Start by setting up a well-ventilated workspace with good lighting. This ensures you can work comfortably and see what you’re doing.
Wear protective gear like gloves and safety glasses when handling glass and cutting materials. This prevents cuts or injuries.
Workspace Setup Guidelines
Ensure your workspace is tidy and free of clutter. It should have all the tools and materials you need. A well-set-up workspace helps avoid accidents and ensures a successful project.
Organize your space well and have everything within easy reach. This makes your work easier and safer.
Handling Mirror and Materials
Be careful when handling the mirror. Store mirror panes vertically to avoid breakage. Laying them flat can strain the sheet.
Wear gloves to enhance your grip and safeguard your hands while handling mirrors. If a mirror is too heavy, get help to prevent accidents.
Pay attention to the adhesives and finishing products you use. Follow the manufacturer’s instructions closely. Proper preparation and handling of materials are key to a successful and safe DIY mirror frame project.
By focusing on safety and taking the right precautions, you can make a beautiful and durable DIY mirror frame. Work carefully, use the right tools and safety gear, and ask for help when needed. This ensures a safe and successful DIY mirror framing experience.
Frame Design Styles and Options
Creating custom decorative mirror frames opens up a world of possibilities. You can choose from modern minimalist to rustic wood, vintage-inspired sunbursts, or ornate antique styles. Play with paint colors, wood stains, or metallic finishes to get the look you want.
Adding unique touches like beads, tassels, or floral elements can make your mirror stand out. Upcycling materials is also a great way to create special custom mirror frames. It shows off your eco-friendly values and personal style.
It’s important to pick a frame that fits the room’s decor. Whether you’re aiming for a sleek, modern look or a cozy farmhouse vibe, the right frame can make your mirror the centerpiece.
| Frame Style | Design Inspiration | Recommended Spaces |
|---|---|---|
| Modern Minimalist | Sleek lines, neutral colors | Contemporary, open-concept living areas |
| Rustic Wood | Distressed, natural textures | Farmhouse, industrial-chic, or cozy, cabin-inspired rooms |
| Vintage Sunburst | Radiant, mid-century inspired | Retro-themed spaces, eclectic or bohemian-style rooms |
| Ornate Antique | Intricate, ornamental designs | Traditional, formal, or luxurious living spaces |
No matter your style, the right decorative mirror frames can turn a simple mirror into a stunning piece of art. Let your mirror frame show off your unique style and vision.
Professional Tips for Perfect Mitered Corners
Creating a stunning DIY mirror frame is all about paying attention to the details. One of the most critical elements is achieving flawless mitered corners. By following a few professional techniques, you can elevate your mirror framing project to a whole new level.
Corner Joint Techniques
The key to perfect mitered corners lies in the precision of your cutting. Set a miter saw precisely to 45 degrees. Test your cuts on scrap wood before tackling the frame pieces. This ensures the angles are spot-on and the joints will fit together seamlessly.
Securing Frame Joints
Once you’ve cut the mitered edges, apply a generous amount of wood glue to the joints. This will create a strong, durable bond that will hold the frame together. To keep the corners tightly aligned while the glue dries, use painter’s tape to hold the pieces in place. If you notice any small gaps, fill them with wood filler or caulk for a flawless finish.
For added reinforcement, consider using corner braces on the back of the frame. These metal or plastic brackets provide extra strength and stability, making your DIY mirror frame even more sturdy and long-lasting.
By mastering these professional tips for mitered corners, you’ll be well on your way to creating a DIY mirror frame that looks like it was crafted by a seasoned woodworker. With a little attention to detail and the right techniques, you can achieve a polished, high-end look that will transform your space.
Finishing Touches and Decorative Elements
Make your custom mirror frame stand out with various decorative elements. You can use paint effects or gilding to turn a simple frame into a stunning piece. This way, your mirror will reflect your unique style and decor.
For a rustic look, add texture with rope, beads, or mosaic tiles. Rustic wood frames, for example, add warmth and a natural feel to bathrooms. Decorative bathroom mirrors come in many styles, from art deco to intricate wood designs and wrought iron detailing.
Want a modern look? Metal frames are sleek and durable, perfect for a clean, industrial look. Metal-framed mirrors can make small bathrooms feel larger and brighter by reflecting light.
For elegance, try a beveled mirror frame. The angled edges add a touch of sophistication and catch light beautifully, enhancing your mirror’s look.
******Get creative with your oval mirror frame. You can wrap it in fabric, decorate it with seashells, or add a metal pipe design for an industrial look. The options are endless to match your style and vision.
| Frame Style | Design Inspiration | Aesthetic Appeal |
|---|---|---|
| Rustic Wood | Warm tones, organic textures | Cozy, natural |
| Metal | Clean lines, industrial accents | Sleek, modern |
| Beveled | Subtle sophistication, light reflection | Elegant, refined |
| DIY Oval Frames | Personalized, unique designs | Customized, stylish |
Mounting and Installation Techniques
Mounting your framed mirror is key. The mirror’s weight is important for safe hanging. For hanging mirror frames, use wall anchors or find wall studs for a strong base. Lighter full-length mirror frames can use D-rings or wire. But, heavier frames need stronger mounting.
Weight Considerations
Before choosing mounting hardware, know the mirror’s total weight. Heavier mirrors need wall anchors or stud-based mounting for safety. Lighter frames can use simpler methods like D-rings or wire.
Securing Methods
- For smaller, lightweight hanging mirror frames, use D-rings or wire for easy and secure hanging.
- Larger, full-length mirror frames should be firmly attached to the wall using construction adhesive or liquid nails before mounting.
- When mounting heavy mirrors, locate wall studs and use appropriate screws or anchors to ensure a sturdy, long-lasting hold.
- For frameless mirrors, consider using mechanical methods like clips or J-channels, or adhesive methods like mirror mastic for a secure and seamless installation.
Proper planning and attention to weight distribution are essential for safely mounting any framed mirror. By taking the necessary precautions, you can enjoy your beautifully framed mirror for years to come.
Troubleshooting Common Issues
Making your own DIY mirror frame can be fun and rewarding. But, you might run into some problems. Don’t worry, we’ve got a guide to help you fix any issues. This way, you’ll get a perfect DIY mirror frame or create frame for mirror project.
Addressing Gaps in Mitered Corners
Seeing gaps in your mitered corners? It’s a common problem. Just use wood filler or caulk to fill them. Sand the area smooth after, then paint or stain your frame.
Dealing with Adhesive Seepage
Adhesive leaking from your frame joints? Quickly clean it with a damp cloth. This ensures your frame maintains a clean and polished appearance. Act fast, as dried adhesive is hard to remove.
Leveling Uneven Surfaces
Got uneven surfaces in your frame? Use shims to level it. This makes your DIY mirror frame fit perfectly against the wall.
Improving Paint or Stain Adhesion
Having trouble with paint or stain sticking? Sand the surface well before applying primer. This ensures a strong bond and prevents peeling or chipping later.
Straightening a Warped Frame
Is your frame warped? No worries! Clamp it in place while the adhesive dries. This keeps your create frame for mirror project straight and sturdy.
With these tips, you can fix common problems and enjoy a beautiful, professional-looking DIY mirror frame. Happy crafting!
Conclusion
Creating a custom frame for your mirror is a DIY project you can do. It’s a great way to make your space look better without spending a lot. You can choose materials that fit your style and make your mirrors stand out.
Using wood or metal, or even old items, you can make your mirror frame special. This lets you show off your creativity and make your home look unique. It’s a fun way to add something special to your space.
If you want to make your mirrors look better and add your personal touch, try DIY framing. With some guidance and effort, you can make a mirror that shows off your style. It’s a rewarding project that can make your home look amazing.
FAQ
What types of mirrors are suitable for framing?
Many mirrors can be framed, like builder-grade and jumbo bathroom mirrors. This method works for all sizes and styles.
What are the benefits of creating a custom mirror frame?
Custom frames are a budget-friendly way to refresh mirrors. They enhance your space’s look and let you match your decor.
What are the common materials used for mirror framing?
You can use pine, natural wood, MDF, or trim boards for framing. The choice depends on your desired look, from rustic to traditional.
What tools and materials will you need for this project?
You’ll need a miter saw, caulking gun, tape measure, pencil, sanding block, and finishing supplies. Also, trim boards, adhesive for glass, paintable caulk, and finishing supplies.
How do I measure and cut the frame pieces?
Measure the mirror’s size first. Cut the trim boards at 45-degree angles with a miter saw. Sand the wood until smooth, but don’t overdo it on the angles.
How do I choose the right wood for my mirror frame?
Pick wood based on your style. Knotty pine is great for rustic, natural wood for coastal, and MDF for traditional.
What safety precautions should I take during this project?
Work in a well-ventilated area with good lighting. Wear gloves and safety glasses when handling glass and cutting. Be careful with adhesives and finishes.
How can I achieve perfect mitered corners on my frame?
Use a miter saw at exactly 45 degrees. Practice on scrap wood before cutting the actual pieces. Apply wood glue to edges for strong joints. Use tape to hold corners while drying.
What decorative elements can I add to my mirror frame?
Add paint effects, gilding, or distressing to your frame. You can also use rope, beads, or mosaic tiles for texture. Choose elements that fit your decor.
How do I properly mount and install the framed mirror?
Choose mounting hardware based on the frame’s weight. For heavy mirrors, use wall anchors or find studs. D-rings or wire work for lighter frames.
What are some common issues I might encounter, and how can I fix them?
Fix gaps in corners, adhesive leaks, uneven surfaces, or warped frames with wood filler, caulk, shims, and clamps.